More and more teams are starting to use Jira. At first, Jira was meant for engineering teams to track their bugs, but it has since expanded into an organization-wide tool to manage work in small teams and at scale. No matter what kind of work your organization does, there will always be a Jira project ready for you to manage the process, information, and decisions.
A very popular industry that is involved in nearly all sectors of business, is consulting. Consulting projects are unique to the type of consulting that is done, but generally, a consulting firm will offer a series of consultations or services in a particular niche. No matter what that niche is, the team still has value that needs delivering. They also need to track that value to ensure that the team delivers it in a timely and cost-effective manner. The more value that the team can deliver to the client, the more likely they will be able to get more work from a client or even acquire new clients.
With this in mind, the importance of delivering value to the client is clear, and thus tracking that work is of the utmost importance. For this reason, work management software like Jira is necessary.
If you are a consultant and your organization is already using Jira, you have a great excuse to try out its features for free before committing to the rest of your team. If you aren’t already using Jira to track your work, you can sign up for a free trial here. If you are already using Jira to deliver consulting projects, read on.
Consulting projects in Jira
As a work management software with complete customization, Jira sets up perfectly to help teams deliver consulting projects. No matter your subscription (Free, Standard, Premium, or Enterprise), the core features are available to allow you to follow something similar to what we are about to demonstrate. At the end of the day, the tasks you add to your work will depend on the consulting projects that you are delivering.
As a best practice, Jira projects should be organized around teams. If your team delivers a certain kind of consulting project, then this setup is perfect for you.
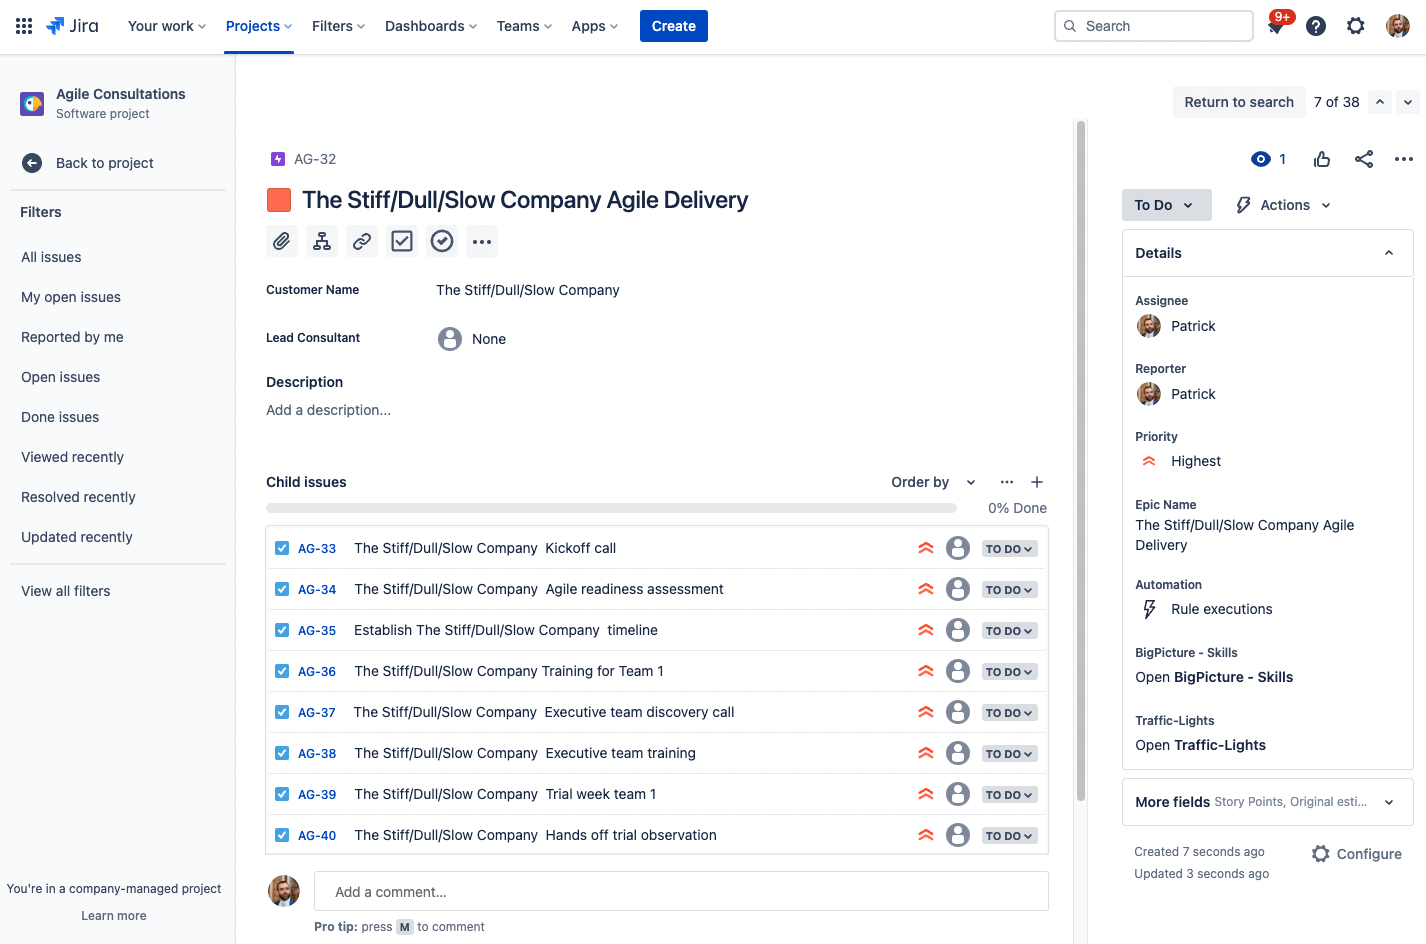
As the project owner, you could use Epics or another issue type that you customized in your hierarchy (Premium and Enterprise plans only) to hold all the delivery work for a consulting project. For example, we could call our Epic “Waterfallers Anonymous Agile Delivery” if we are delivering an Agile consultation to the company called “Waterfallers Anonymous”.
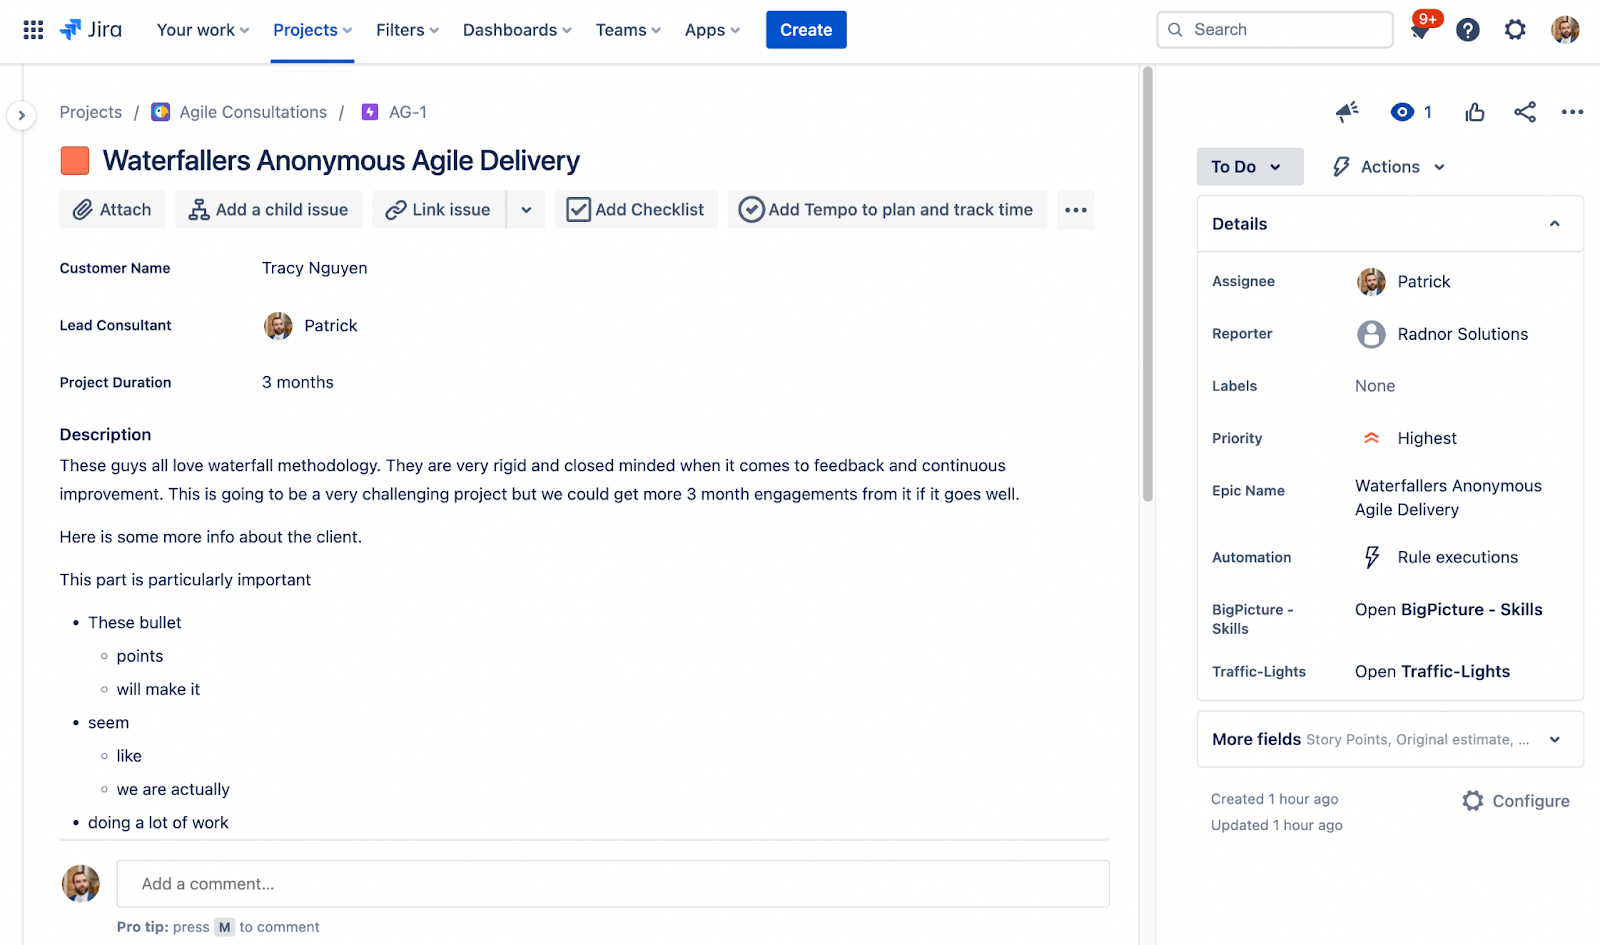
From the above screenshot, we can see some meta-information about the agile consulting delivery project. Having the Epic serve as the “parent” card to then hold all the delivery tasks and value allows us to keep all of our work in one place.
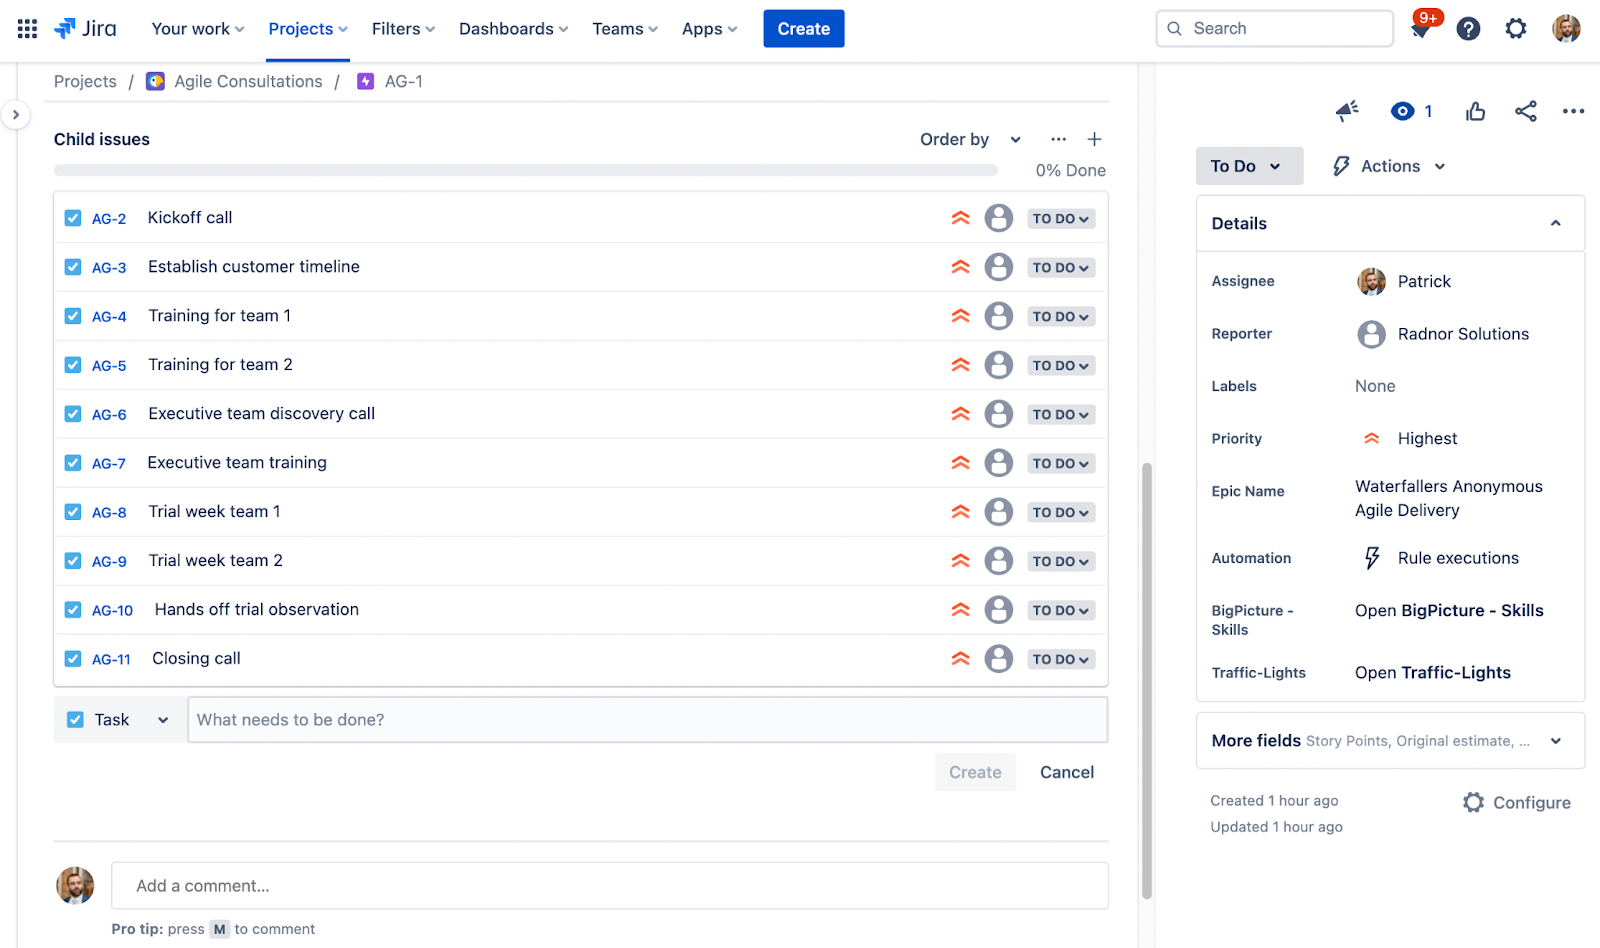
Once we have delivered a few projects, we will identify which projects went the best and we can start to use those tasks as a kind of template for starting work with new clients. This means we can begin to establish a set of best practices which will help us take our success from one client to the next.
This is a great way to organize our first few projects, but once our customer base starts to grow and projects continue to roll in, it may be difficult to create these same tasks for every customer. If there was a way to create these tasks automatically, we could save a lot of time and focus on the consulting part of the project, rather than the administrative part.
Enter Templating.app
Creating the same tasks over and over again can be time-consuming, dull, and repetitive. Not many people like to work this way. That’s the premise that we used to create the app Templating.app 🚀 Jira Issue Template Automation | Templates.
With Templating.app, you can create any number of templates that will allow you to create a group or groups of issues automatically. Let’s take a look at how this could work with our consulting project delivery example.
Creating your Template
To get started with Templating.app, you will need to have your site admin install a trial on your instance. If you are a site admin, you can do this yourself.
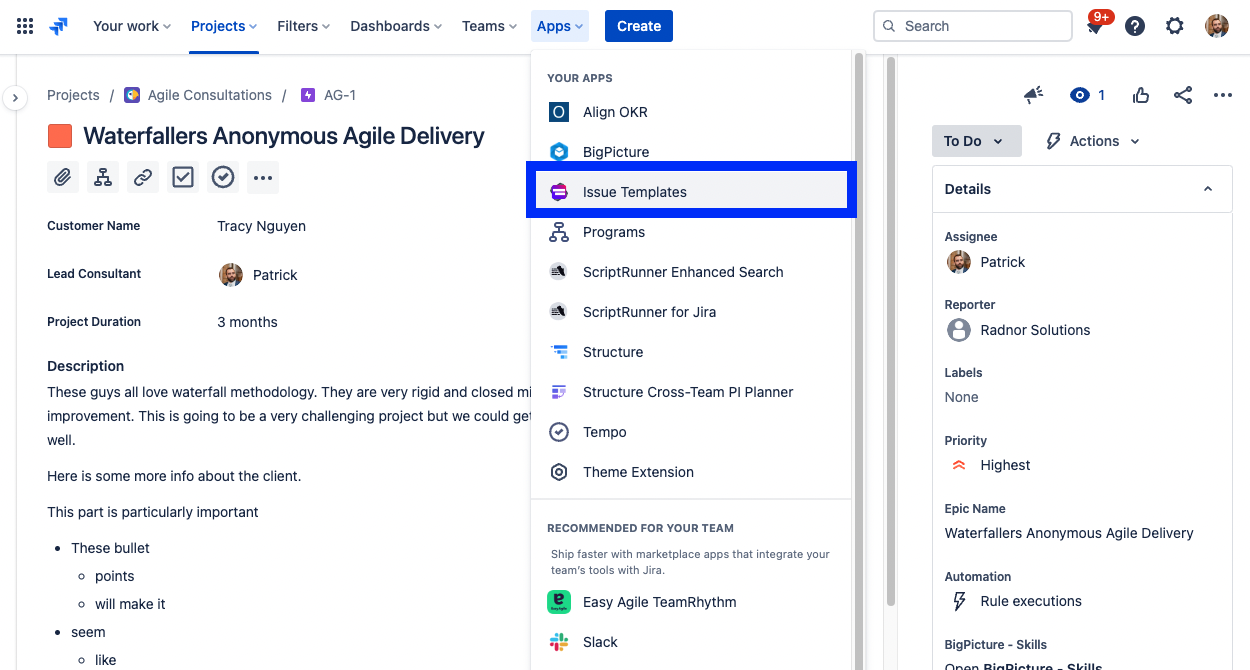
Once the app is installed, you will see the “Issue Templates” option in the “Apps” drop-down at the top of Jira. Start here to create and use Templates.
Staying with our example of consulting delivery projects, we can create a template for our standard approach to agile consulting.
In the Issue Templates home page, click “Create template”.
Choose the project where you would like to create the issues and give your template a name (don't worry though, your template is not limited to just one project). If you would like to give the template a description and subtitle you can do that here as well.
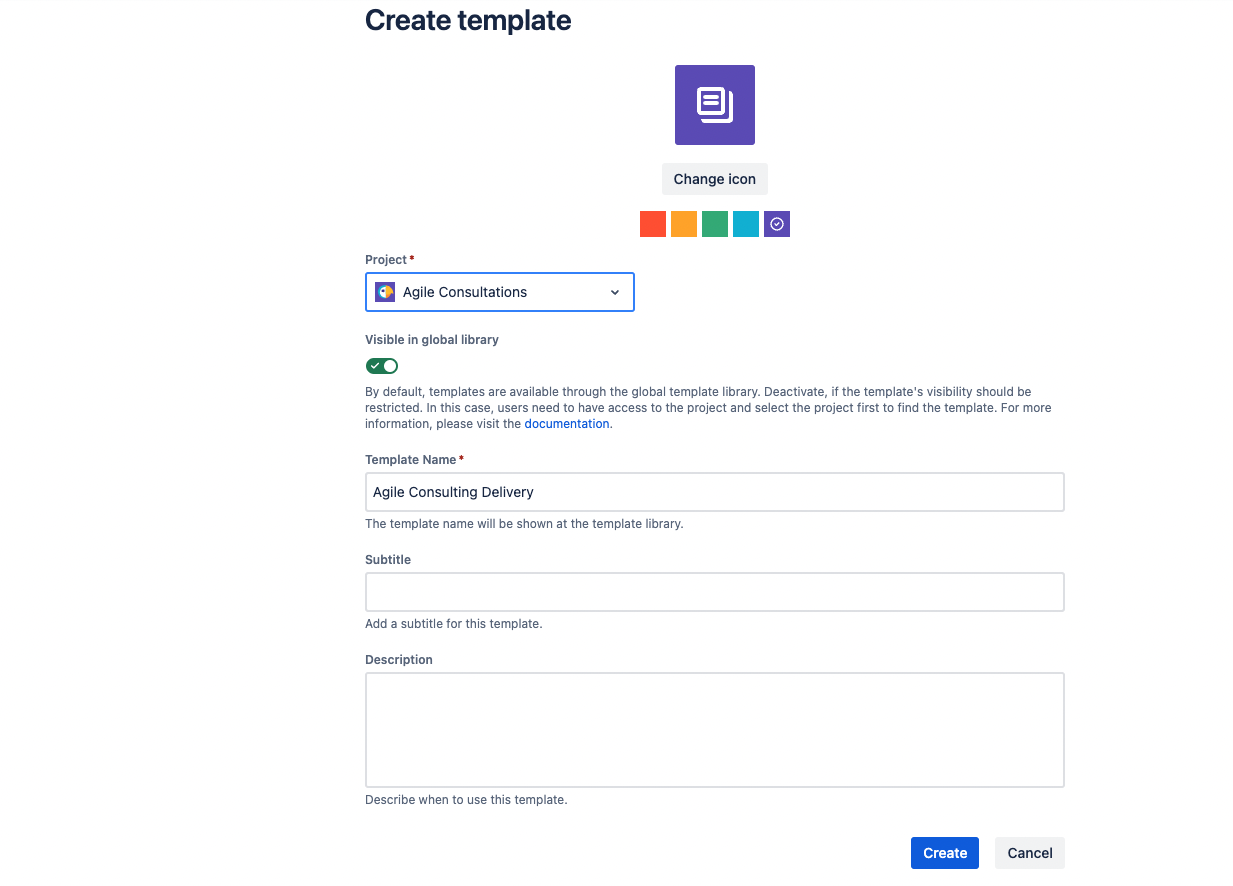
Once you are ready, click “Create”.
Now for the fun part: Adding your issues to your template! For this particular example, we are using the standard version of Jira so we will adapt Epics to be our parent issue which will contain all the tasks for the project. From there, we can add our project tasks below it in the template.
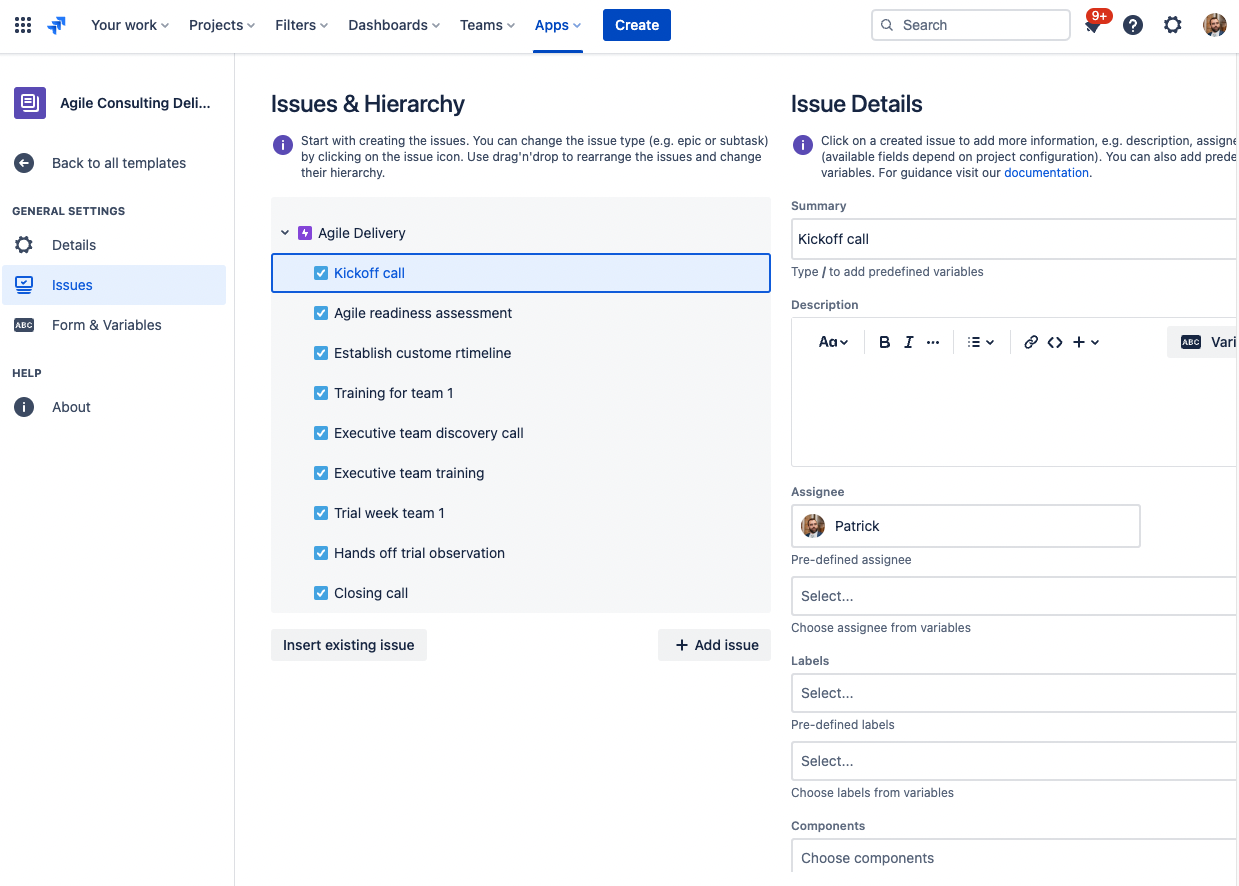
Now, whenever we have a new agile consulting project to deliver, we can simply create all our tasks for that project from our template. This is great and will save us a lot of time creating issues, but it’s not perfect. As you may have guessed, each issue will be identical across projects and it will be hard to distinguish between the project’s issues.
Adding your Variables
If we want to distinguish our issues within each project from each other, we will need to apply the differentiating characteristics to the issues so that we can tell the difference. The most obvious distinguishing characteristic between projects is the client name. In addition to that we could also look at the project deadline and the lead consultant to distinguish the issues.
So how can we incorporate this into our issue template? Well, Templating.app has a great feature called Variables and we can create a variable for each of our distinguishing project characteristics.
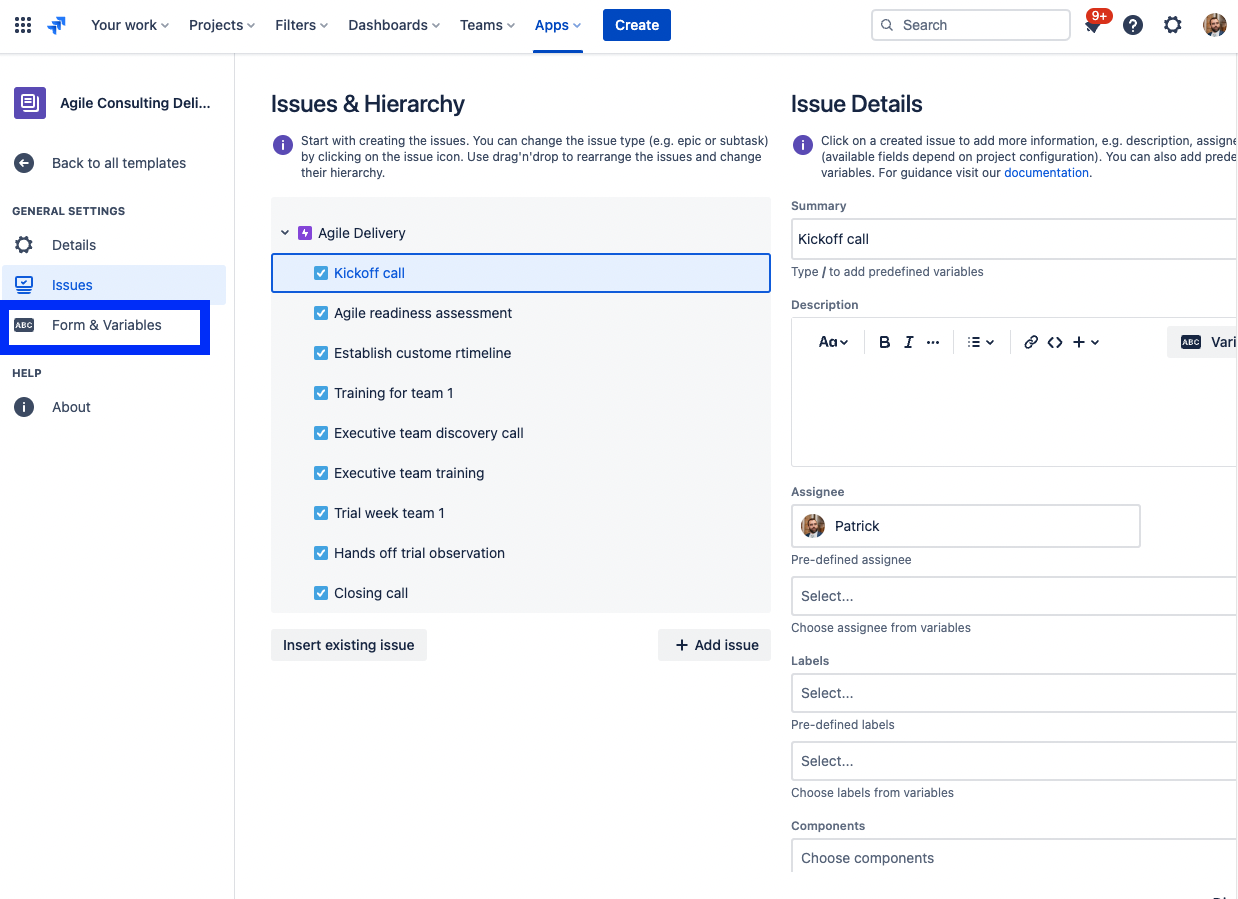
To create a variable in a Template, click on the “Form & Variables” button on the left side of your Template sidebar.
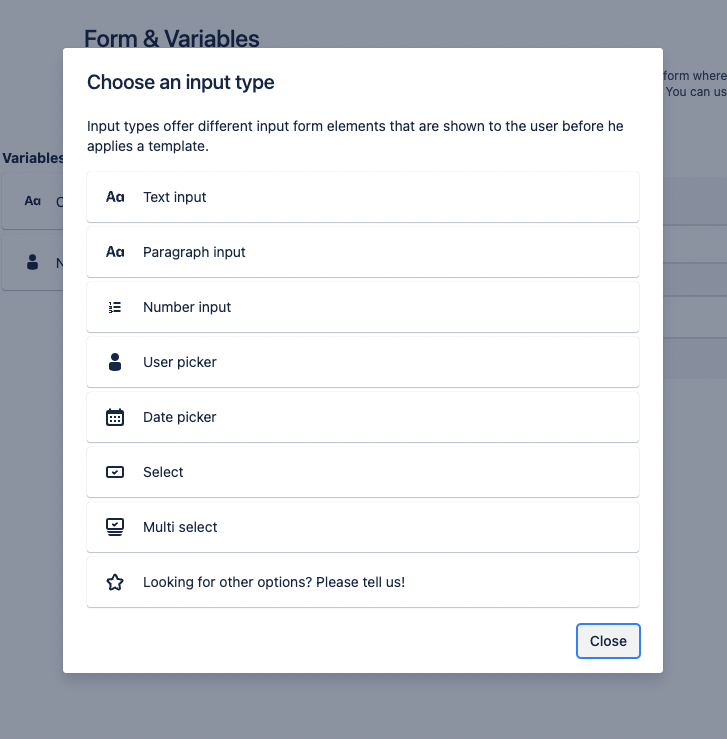
From here, we can create our variables. Variables can have seven different types, shown in the screenshot below. For our variables, we will choose text input for the customer name, user picker for the project lead, and date for our project deadline.
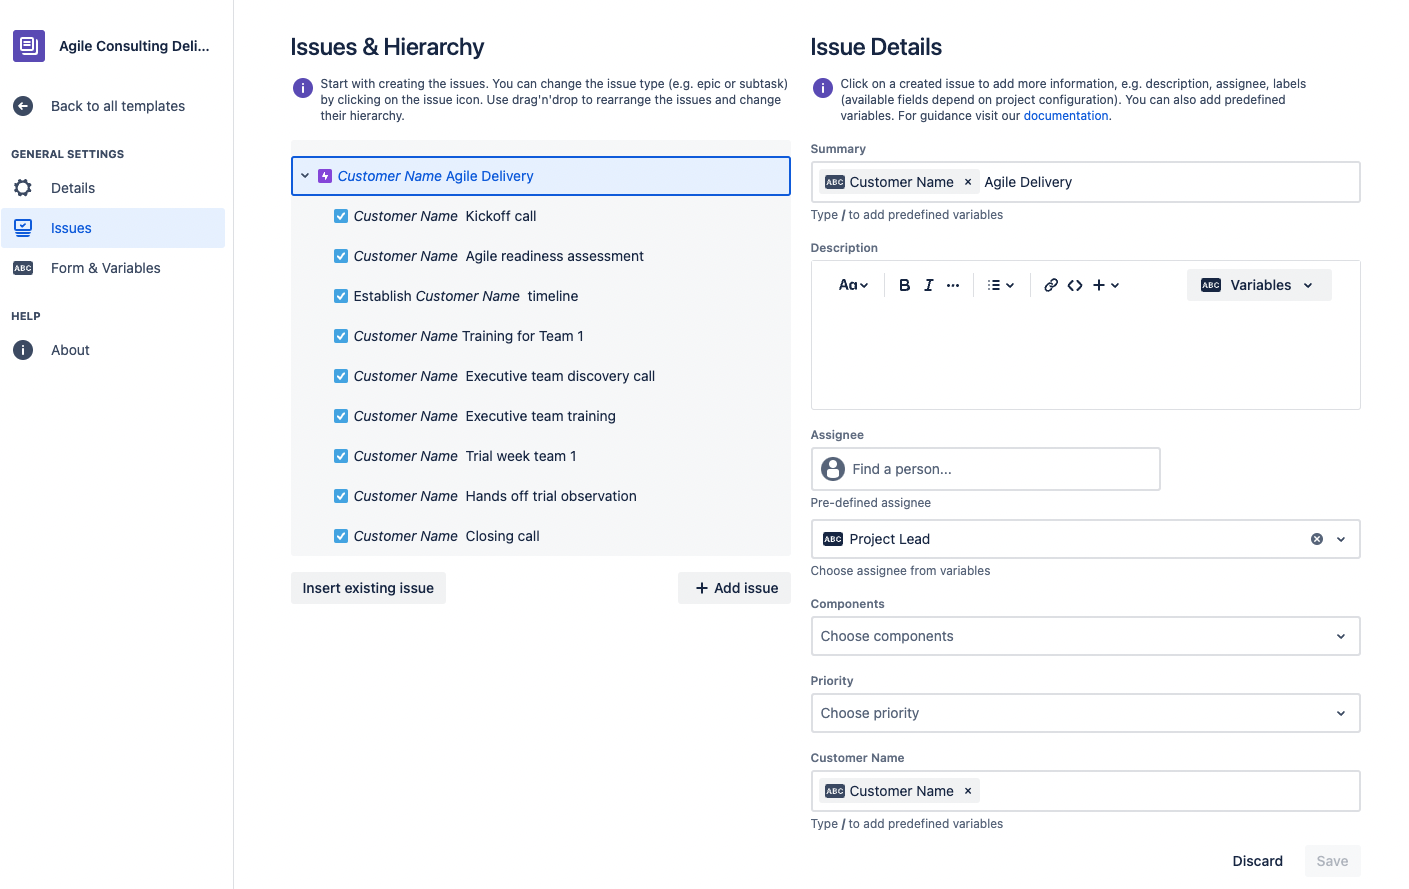
Once we create our variables, we can then add them to the issue template back in the “Issues” section of your template.
We will use our Project Lead variable to populate the Assignee field. We can also use our Customer Name variable to populate the Summary and Customer name fields. Finally, we can use the project deadline to populate the Due date. Once we are done, our issue template could look like this:
Now, when we go to use our template, we will be prompted to enter the Customer Name, Project Lead, and Project Deadline.
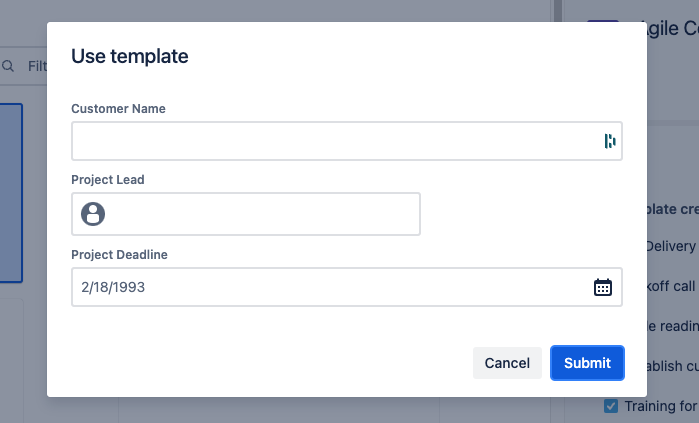
When we click the “Submit” button, we can see Templating.app successfully created our issues in our project like below.
Manage your Consulting projects easier
Overall, if you are delivering consulting projects of any kind, in Jira, and you find yourself creating repetitive tasks for each client, Templating.app could be the right tool for you. The app will help you save time with your issue inputs and prepopulate your issues with key project information.
You can try Templating.app for free on the Atlassian marketplace. If you need any help or have any suggestions for us, please write us an email or book a free demo.
Further Reading
- Templating.App – Standard Approach to Creating (Social) Media with Templates in Jira
- Templating.app Update – You Can Now Create Templates Across Multiple Jira Projects
- Simplify your Offboarding Processes with Templating.app – Easy Issues & Subtasks
- Easily Turn Any Jira Issue into a Template in Jira Cloud
- Easily Create Subtasks for All of Your Jira Cloud Issues
- 4 Barriers that Hinder Team Productivity – and How to Overcome Them
- The Importance of Clear and Concise Communication in Jira and How Awesome Custom Fields Can Help


